This is meant to be an answer to: diy.stackexchange.com/questions/27669/how-can-i-thoroughly-blackout-a-bedroom-window-on-a-budget but that question was protected and I can't answer right now because I don't have 10 reputation on the website, so here goes.
This is my first working setup, done in a rental friendly way without drilling. I am sure that it is possible to do it cheaper, better and with less work, but it the first one that worked for me, so I will document it.
Cost: 150 Dollars for a relatively large 130 x 158 cm window. They do not sell for windows much larger than that.
Bought from www.orderblinds.co.uk on June 2019.
My window faces East, and in summer the sun rises at around 5AM here, and I am a bit light sensitive and was getting destroyed.
This setup, together with:is good enough to allow me to sleep properly, which is priceless.
- the existing sliding curtains which were not enough on their own
- a cheap and comfortable Figure 2. "GO Travel sleeping mask" from the Pharmacy


Demonstration if everything goes exceptionally well:
How to fit a Total Blackout Cassette Roller Blind by Order Blinds Online (2016)
Source. The actual product name appears to be Bloc Blinds or BlocOut, Order Blinds appears to whitelabel them.However, not all will necessarily be fun and games as in that YouTube video, especially if you are doing it for the first time, and the main point of this article is to make you aware of that.
The first problem is that you may have to remove existing useless "privacy blinds" from the way, which can mean putting effort into learning how they work and, has a risk of damaging the property. So be smart and get a chair and a second person to help you out!
Next, fitting the side rails is not going to be that easy. The thing has to be tight to block the light, right? Careful not to scratch the bottom sill!
Then you will notice that, like in the video at youtu.be/cTVVe7codw4?t=106, you are expected to screw the side rails to the bottom wood / plastic sill of the window, which is not rental acceptable! So I didn't to that, but together with the black tape that I will mention next, it held well enough.
The top part requires hammering nails as shown on the video: youtu.be/cTVVe7codw4?t=24 but this is generally rental acceptable, and you can fill the holes afterwards.
Once you have the setup in place, it is likely that there will be some light gaps still, because it is basically impossible to make such large objects fit perfectly. This was especially true for the top of the window, but also for the sides, so I just used some black tape
So I added some wide (50mm) Figure 4. "Diall PVC repairing black tape" between the blind and the wall to completely seal off the light.
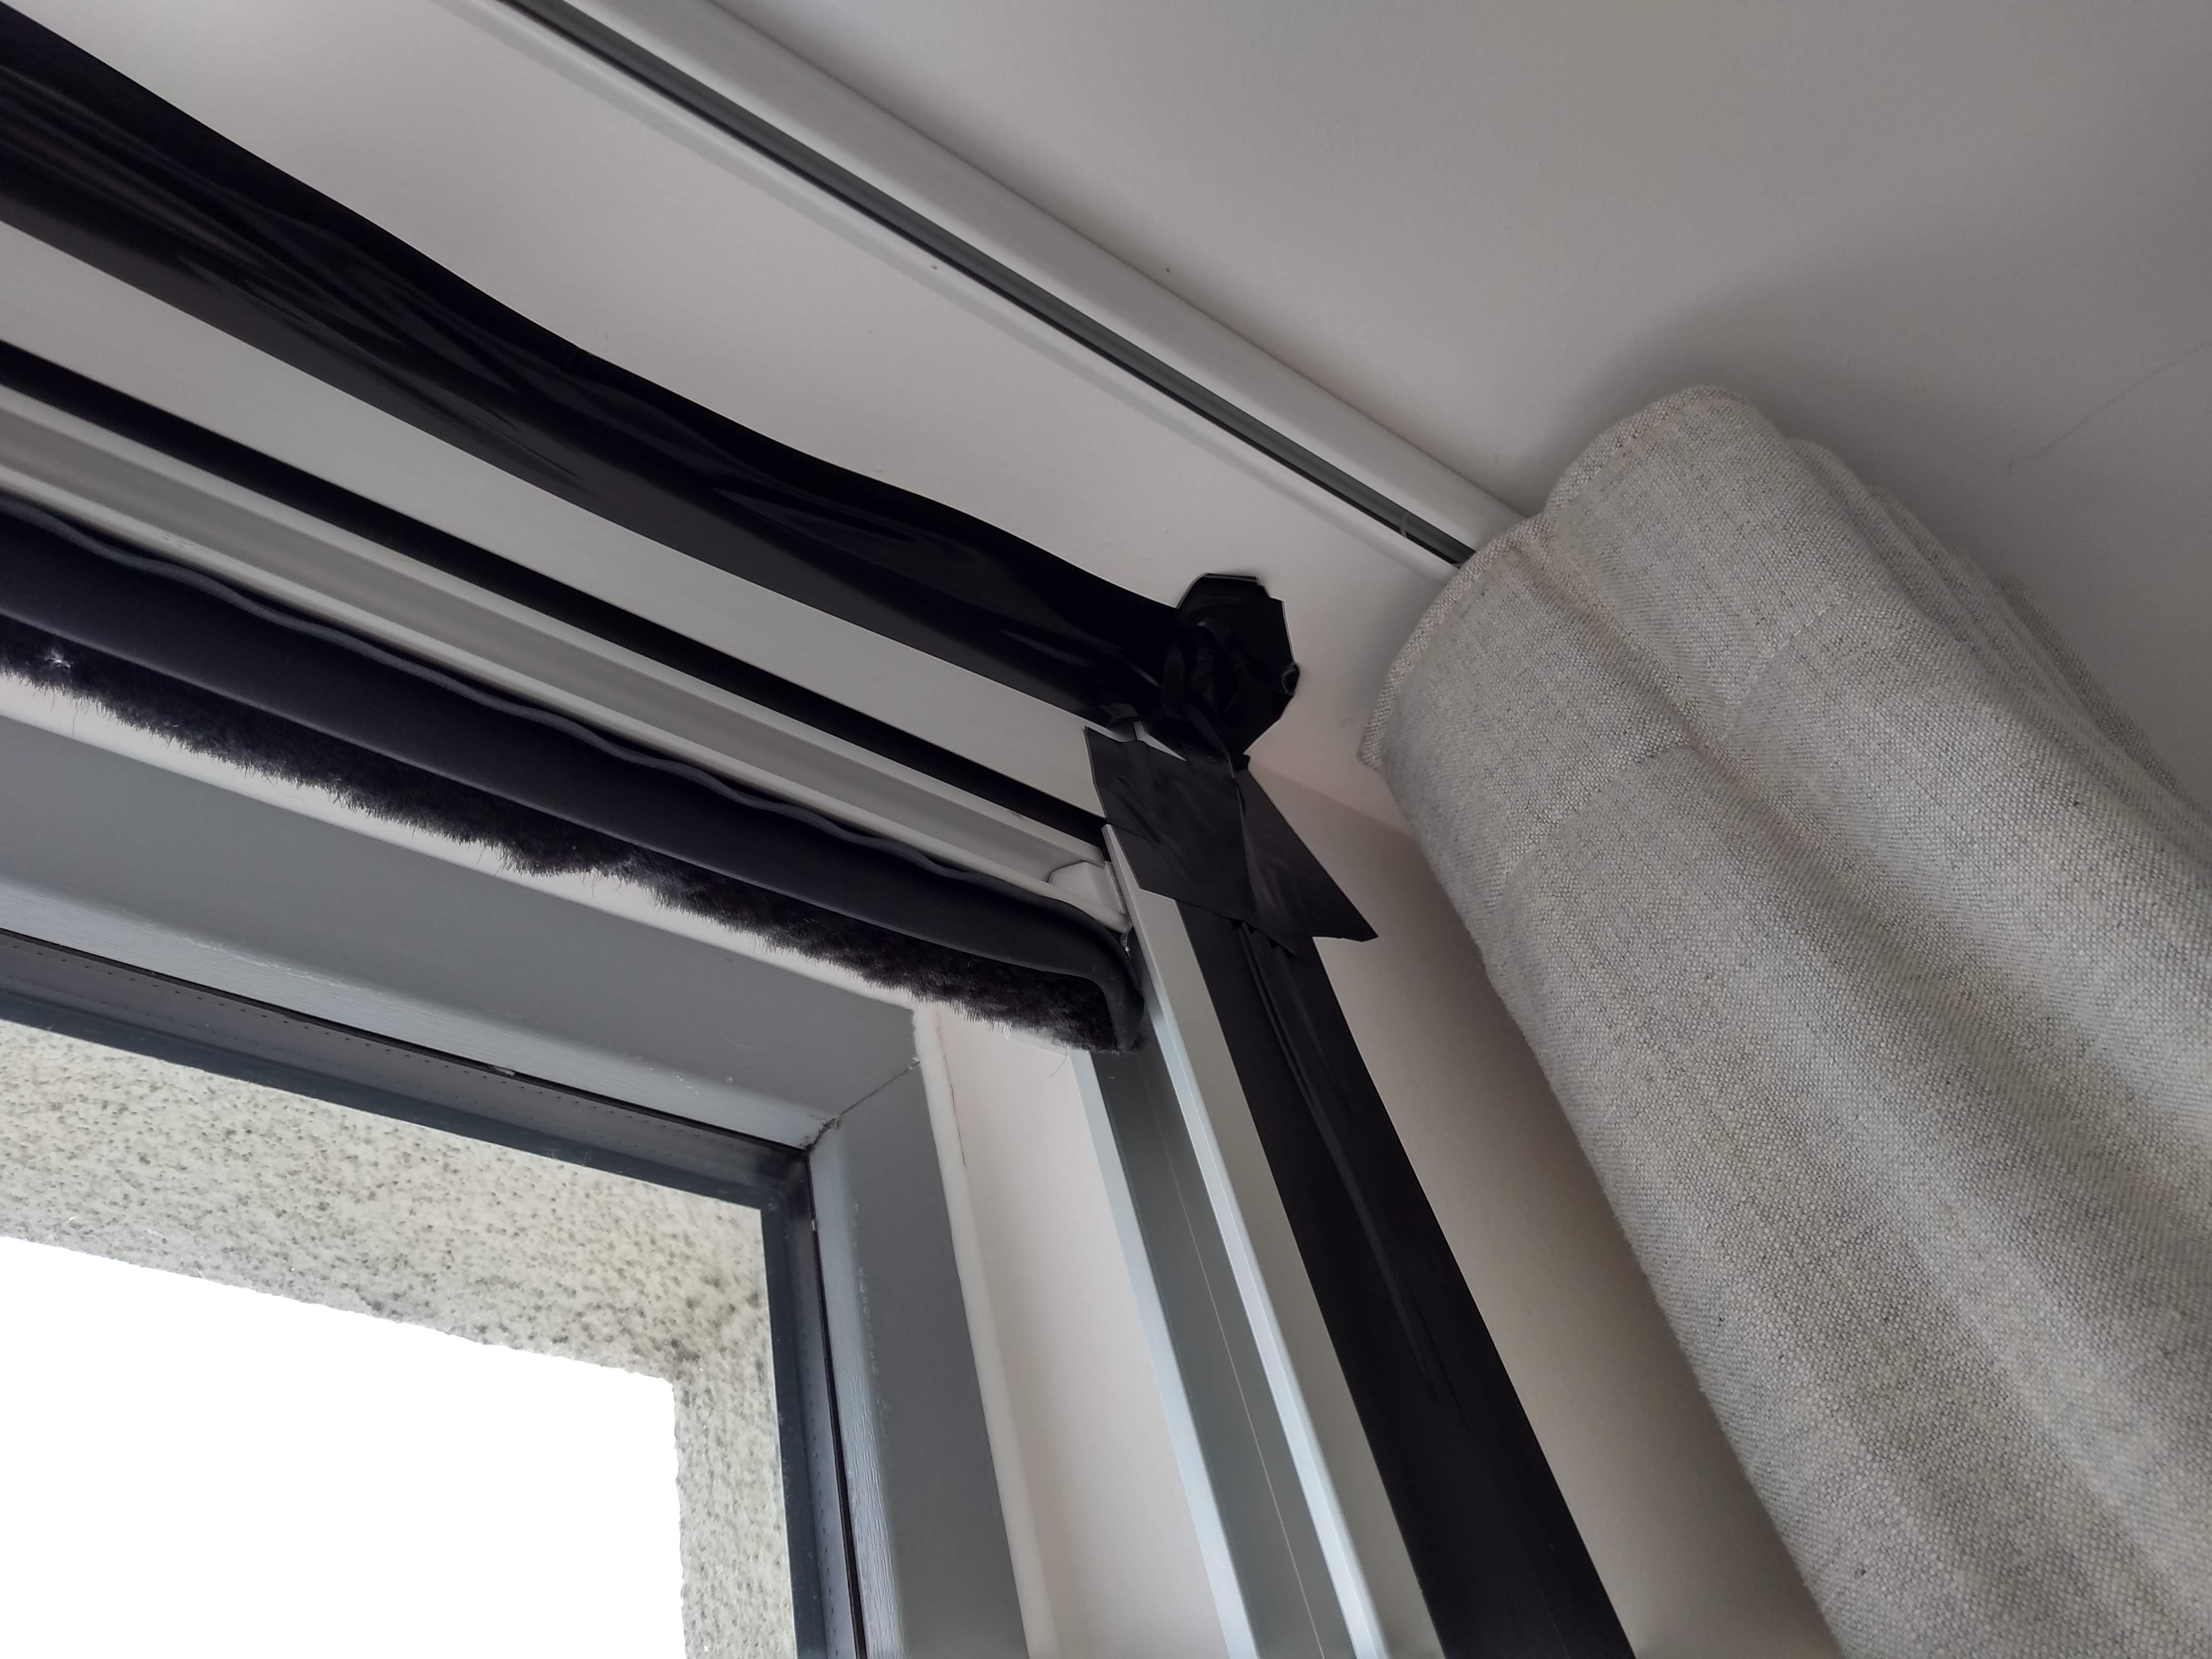

Diall PVC repairing black tape
. Source. This tape made things dark and was durable, but note at Section "Removal wall damage review" that it pulled bits of the plaster out with it during removal. I've since learnt about the existence of "painter’s tape"/masking tape, that might have been a better idea to protect the walls when pulling the tape off. It is worth noting that some of the painter's tape do come with a maximum number of days before you can pull them off, presumably after which wall damage becomes a possibility, e.g. Ciro saw one rateed 14 days.There is still some leakage at the bottom however, which cannot be taped. I mitigated that a bit by putting some black T-shirts on the bottom window sill, and together with the pre-existing rental curtain, it was enough.
Another minor annoyance is that parts of the blind cloth sometimes slip out of the conduit holes in the aluminium side bars. For this reason, I have to always open and close slowly and carefully. But if it does happen, fully opening and closing carefully has solved the problem.
One problem popped up about one year after having bought the blinds in 2019: the blind won't stay still except at the most closed position. Anywhere above it started to slowly go up by itself.
It is not super serious as it covers the two main use cases: full closed and fully open, but it is a bit worrying.
Also, we've had some mold grow on the window, so it is something to look out for, and add some mold spray as it comes up. The fact that the window is dark makes the mold harder to spot.
After removing it:
Of course, we already knew that minimal plaster work would be needed from the start, since we have to hammer two small nails into the wall. But that level of damage might have been easily dealt with by a non-professional tenant himself. But the level I had was a bit more than I felt I should handle myself.

The problem with virtually all sleeping masks on the market is that they leave a lot of room near your nose for light to come in.
Ciro Santilli discovered a useful workaround for that: make the mask tighter with a swimming goggles!
Just make the goggles as loose as possible to not put pressure on your eyes, and then strap them over the sleeping mask.
If you are a back sleeper, put the googles forward as normal. If you are a stomach sleeper, put the googles on the back of your head, and the straps over the mask. This way you wont get your head squished by the goggles and the bed.
Once Ciro understood the idea, Googling "swimming googles sleeping mask" led to: mantasleep.uk/ might be a good option.
Thick cardboard paper and Gorilla Tape: the intense Sun heat made the cardboard bend, and even the Gorilla tape could not hold it, leading to light leakage. Even worse, it started to smell a bit, and I got afraid that it could catch fire, so don't do this! Maybe I will try coating with aluminium foil next time, but I'm afraid it might stick to the glass. In any case, even if those setups work, your room may be permanently very dark depending on how far the window opens, which can lead to other problems such as mold. Another downside of this method is that the tape is extremely sticky, and especially difficult to remove if it touches the glass, where you can't use metallic items to scrape it off without scratching the glass. I had to get a solvent and use a lot of elbow grease to get rid of it.
I have tried a few sleeping masks, but none of them were enough on their own. There is always some light leakage around the nose, especially as you turn around in the night. And some of them are too hot. I have tried:
- Sleep Master (archive): www.amazon.co.uk/gp/product/B0015NZ6FK (archive). Also too hot.
- Muji Eye Mask
I also considered getting one of those "Perfect Fit Blinds" www.blindsdirect.co.uk/perfect-fit-roller-blinds (archive) which fit between the glass and the insulation. This looks like it could work. But I didn't go for it in the end because my window has 3 glass panels, so I would have to get three of those blinds separately.
Articles by others on the same topic
There are currently no matching articles.