The first thing we had to do with the sample was to extract the DNA present in the water in a pure form for the PCR.
In each step we take a physical or chemical action on the sample, which splits it into two parts: the one with the DNA and the one without.
The first thing we did was to filter the water samples with a membrane filter that is so fine that not even bacteria can pass through, but water can.
Therefore, after filtration, we would have all particles such as bacteria and larger dirt pieces in the filter.
From the 1 liter in each bottle, we only used 400 ml because previous experiments showed that filtering the remaining 600 ml is very time consuming because the membrane filter gets clogged up.
Therefore, the filtration step allows us to reduce those 400 ml volumes to more manageable Eppendorf tube volumes: Figure 1. "An Eppendorf tube". Reagents are expensive, and lab bench centrifuges are small!

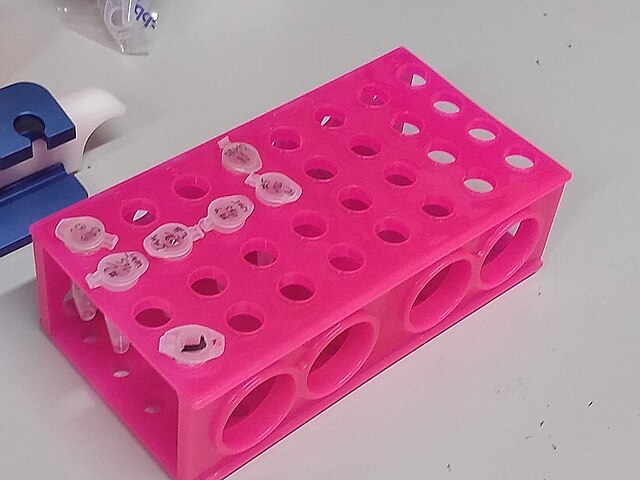
Labelled Eppendorf tubes on a rack
. Source. Since the filter is so fine, filtering by gravity alone would take forever, and so we used a vacuum pump to speed thing up!
For that we used:

Peeling the vacuum pump filter protection peel before usage
. Source. 
Placing the vacuum pump filter
. Source. After filtration, all DNA should present in the filter, so we cut the paper up with scissors and put the pieces into an Eppendorf: Video 1. "Cutting vacuum pump filter and placing it in Eppendorf".
Cutting vacuum pump filter and placing it in Eppendorf
. Source. Now that we had the DNA in Eppendorfs, we were ready to continue the purification in a simpler and more standardized lab pipeline fashion.
First we added some small specialized beads and chemicals to the water and shook them Eppendorfs hard in a Scientific Industries Inc. Vortex-Genie 2 machine to break the cell and free the DNA.
Once that was done, we added several reagents which split the solution into two phases: one containing the DNA and the other not. We would then pipette the phase with the DNA out to the next Eppendorf, and continue the process.
In one step for example, the DNA was present as a white precipitate at the bottom of the tube, and we threw away the supernatant liquid: Figure 1. "White precipitate formed with Qiagen DNeasy PowerWater Kit".

At various stages, centrifuging was also necessary. Much like the previous vacuum pump step, this adds extra gravity to speed up the separation of phases with different molecular masses.


Then, when we had finally finished all the purification steps, we measured the quantity of DNA with a Biochrom SimpliNano spectrophotometer to check that the purification went well:


Articles by others on the same topic
There are currently no matching articles.