Vena contracta is a term used in fluid dynamics and medical imaging to describe the phenomenon that occurs in a fluid flow when it passes through a constricted area. Specifically, it refers to the point of minimum cross-sectional area downstream from a restriction, such as a valve or a stenosis in a blood vessel. In the context of blood flow, for example, when blood passes through a narrowed area in a vessel, the velocity of the blood increases as it enters the constriction.
A Very Large Floating Structure (VLFS) refers to an extensive floating platform or structure designed to remain buoyant on the surface of water. VLFS can be used for various applications, including: 1. **Marine Infrastructure**: They can serve as foundations for offshore facilities such as oil and gas drilling rigs, wind farms, or other energy generation facilities. 2. **Transportation**: VLFS can function as floating bridges or floating airports, providing new ways to connect land masses across water bodies.
Fluid-powered actuators are devices that utilize fluid pressure (usually hydraulic or pneumatic) to produce motion or force. They convert the energy stored in the fluid (either liquid or gas) into mechanical energy to perform a task, such as moving a component or controlling a system. ### Types of Fluid-Powered Actuators: 1. **Hydraulic Actuators**: - Use pressurized liquid (typically oil) to generate force and movement.
Pneumatics is the branch of technology and engineering that deals with the use of gas or pressurized air to create mechanical motion and perform work. It involves the application of compressed air or gas to transmit power and is commonly used in various industrial and mechanical systems. Key aspects of pneumatics include: 1. **Principles of Operation**: Pneumatic systems operate based on principles of fluid mechanics, where compressed air is directed through hoses, valves, and actuators to perform tasks.
"Exits" is a song by the English band The Last Shadow Puppets, which features Alex Turner and Miles Kane. The song is part of their second studio album, **"Everything You've Come to Expect,"** released in 2016. The track showcases the band's signature blend of baroque pop, rock, and cinematic influences, characterized by lush instrumentation and Turner’s distinctive vocal style.
"My Number" is a song by the British rock band Foals, released in 2013 as part of their third studio album, "Holy Fire." The song features an infectious rhythm and catchy melodies, characterized by a blend of alternative rock and dance-punk influences. The lyrics discuss themes of connection and communication, with a playful exploration of relationships. The song received critical acclaim and was a commercial success, helping to further elevate the band's profile in the music scene.
Metallic microlattice is a lightweight, highly porous material that consists of a network of interconnected metal struts or beams arranged in a lattice structure at the microscale. This innovative material combines the properties of metals, such as strength and conductivity, with the extremely low density and high surface area provided by its porous architecture.
Biofoam refers to a type of environmentally friendly foam material made from natural or renewable resources, as opposed to traditional foams that are typically derived from petroleum-based products. Biofoam can be used in various applications, including packaging, insulation, and cushioning, and is favored for its biodegradable or compostable properties, which reduce environmental impact. The composition of biofoam can vary, but it often includes materials like plant-based polymers or agricultural byproducts.
The Sag Resistance Test is a method used to evaluate the mechanical performance of materials, particularly in the context of construction and engineering. The test assesses how well a material can resist sagging or deformation under load over time. This is particularly important for materials used in structural applications, such as beams, panels, or other components that experience bending forces.
A central force is a type of force that acts on an object directed towards a fixed point, known as the center. The key characteristics of a central force include: 1. **Direction**: The force always points either directly toward or directly away from the center. 2. **Magnitude**: The strength or magnitude of the force can vary with the distance from the center, but it is always a function of that distance.
The term "fifth force" in physics refers to a hypothetical fundamental force beyond the four known forces: gravitational, electromagnetic, strong nuclear, and weak nuclear forces. The idea of a fifth force arises in various theoretical frameworks, particularly in attempts to explain phenomena that cannot be accounted for by existing models. The concept of a fifth force has been the subject of numerous scientific investigations and theories, particularly in the context of cosmology and particle physics.
Normal contact stiffness is a concept used in contact mechanics, which deals with the interactions that occur when two bodies come into contact. Specifically, normal contact stiffness quantifies how much a material resists deformation in the direction perpendicular to the contact surface when a normal load is applied. In simple terms, it describes the relationship between the force applied perpendicular to the contact surface and the resulting deformation (deflection) of the contact area.
Intake momentum drag is a concept related to the performance of air intake systems, particularly in the context of engines, such as those found in aircraft or high-performance vehicles. It refers to the aerodynamic drag that arises due to the motion of air entering the intake system. When air is drawn into an engine, it enters at a certain velocity and, depending on the design of the intake, the flow might experience changes in velocity and direction.
Mass and weight are related concepts, but they are distinct from one another. ### Mass: - **Definition**: Mass is a measure of the amount of matter in an object. It is a scalar quantity, meaning it only has magnitude and no direction. - **Units**: The standard unit of mass in the International System of Units (SI) is the kilogram (kg). Other units can include grams (g), milligrams (mg), and metric tons (t).
In physics, "reaction" typically refers to a response to an external force or event. It is often discussed in the context of Newton's Third Law of Motion, which states that for every action, there is an equal and opposite reaction. This means that whenever one object exerts a force on another object, the second object exerts a force of equal magnitude and opposite direction back on the first object.
Restoring force is a fundamental concept in physics, particularly in mechanics and oscillatory motion. It refers to the force that acts to bring a system back to its equilibrium position or original state after it has been displaced. This type of force is crucial in understanding systems such as springs, pendulums, and other oscillatory systems.
An Abstract Rewriting System (ARS) is a formal framework used in the field of computer science and mathematics to study the concept of rewriting, which is a fundamental operation in various areas such as term rewriting, functional programming, and automated theorem proving. In an ARS, we typically define a set of objects (often called terms or expressions) and a relation that describes how to transform these objects into one another through specific rewriting rules.
An Abstract Semantic Graph (ASG) is a conceptual representation used in various fields, particularly in natural language processing (NLP), knowledge representation, and artificial intelligence (AI). It is designed to model the meaning of sentences or texts in a structured format that captures the relationships and semantics of the components involved. Key features of Abstract Semantic Graphs include: 1. **Nodes and Edges**: An ASG is composed of nodes and edges. Nodes typically represent entities, concepts, or important terms.
An Abstract Syntax Tree (AST) is a data structure widely used in compilers and programming language interpreters to represent the structure of source code in a hierarchical tree format. The nodes of the tree represent constructs occurring in the source code, such as expressions, statements, variable declarations, control structures, and more, while the edges represent the relationships between these constructs.
A bigram is a group of two consecutive words or tokens in a text. In natural language processing (NLP), bigrams are used to analyze and understand language patterns by looking at pairs of words that appear next to each other. For example, in the sentence "The cat sat on the mat," the bigrams would be: 1. The cat 2. cat sat 3. sat on 4. on the 5.
Pinned article: Introduction to the OurBigBook Project
Welcome to the OurBigBook Project! Our goal is to create the perfect publishing platform for STEM subjects, and get university-level students to write the best free STEM tutorials ever.
Everyone is welcome to create an account and play with the site: ourbigbook.com/go/register. We belive that students themselves can write amazing tutorials, but teachers are welcome too. You can write about anything you want, it doesn't have to be STEM or even educational. Silly test content is very welcome and you won't be penalized in any way. Just keep it legal!
Intro to OurBigBook
. Source. We have two killer features:
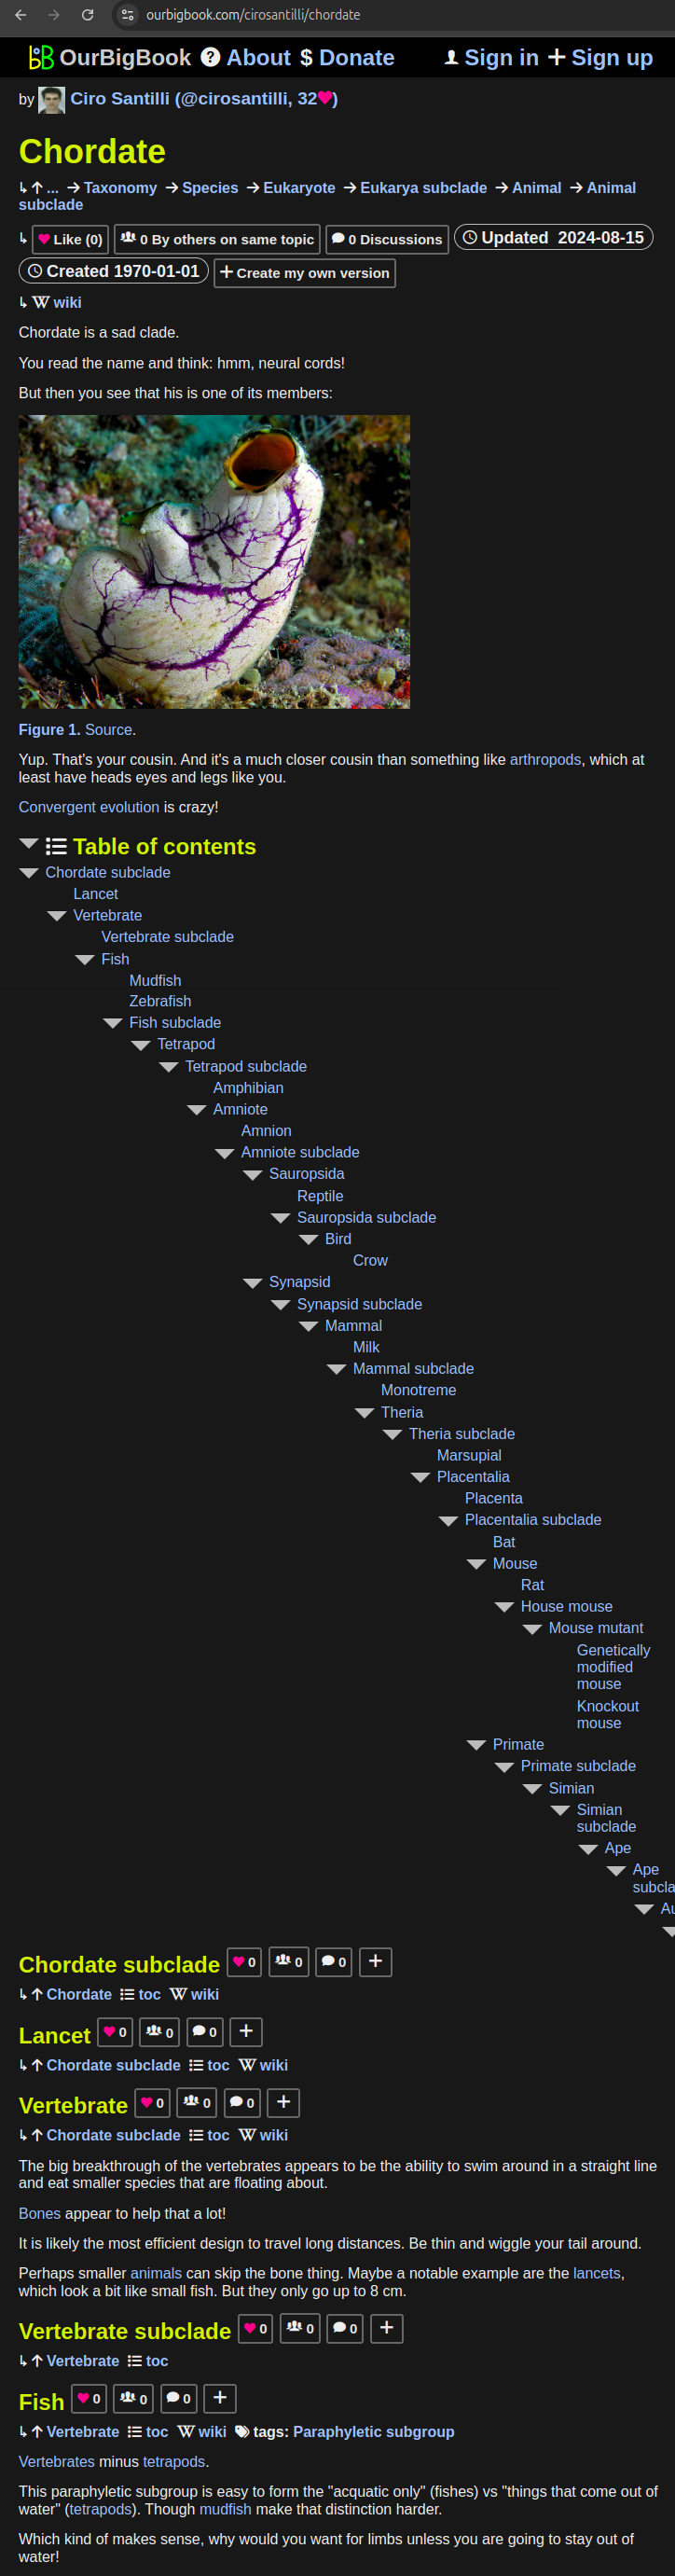
- topics: topics group articles by different users with the same title, e.g. here is the topic for the "Fundamental Theorem of Calculus" ourbigbook.com/go/topic/fundamental-theorem-of-calculusArticles of different users are sorted by upvote within each article page. This feature is a bit like:
- a Wikipedia where each user can have their own version of each article
- a Q&A website like Stack Overflow, where multiple people can give their views on a given topic, and the best ones are sorted by upvote. Except you don't need to wait for someone to ask first, and any topic goes, no matter how narrow or broad
This feature makes it possible for readers to find better explanations of any topic created by other writers. And it allows writers to create an explanation in a place that readers might actually find it.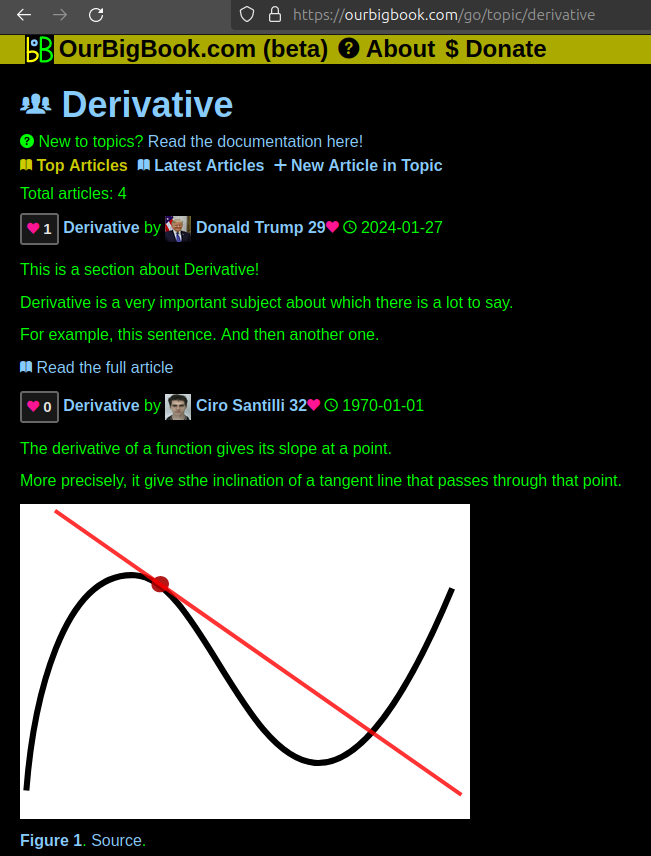
Figure 1. Screenshot of the "Derivative" topic page. View it live at: ourbigbook.com/go/topic/derivativeVideo 2. OurBigBook Web topics demo. Source. - local editing: you can store all your personal knowledge base content locally in a plaintext markup format that can be edited locally and published either:This way you can be sure that even if OurBigBook.com were to go down one day (which we have no plans to do as it is quite cheap to host!), your content will still be perfectly readable as a static site.
- to OurBigBook.com to get awesome multi-user features like topics and likes
- as HTML files to a static website, which you can host yourself for free on many external providers like GitHub Pages, and remain in full control
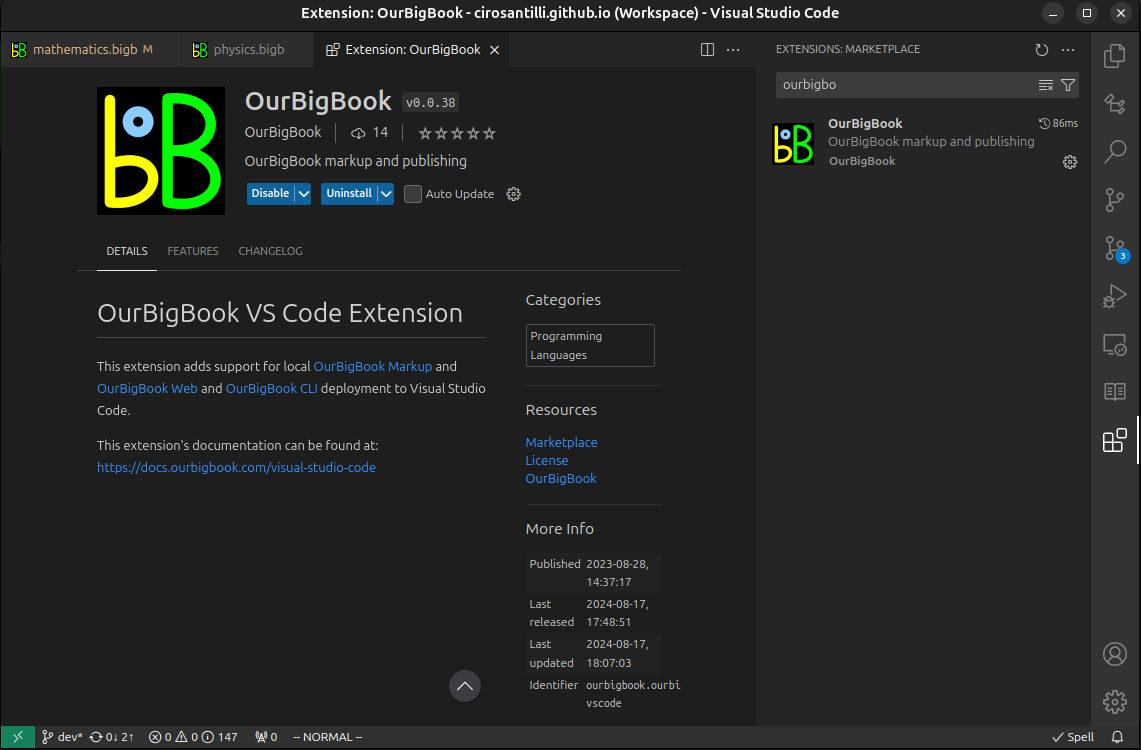
Figure 3. Visual Studio Code extension installation.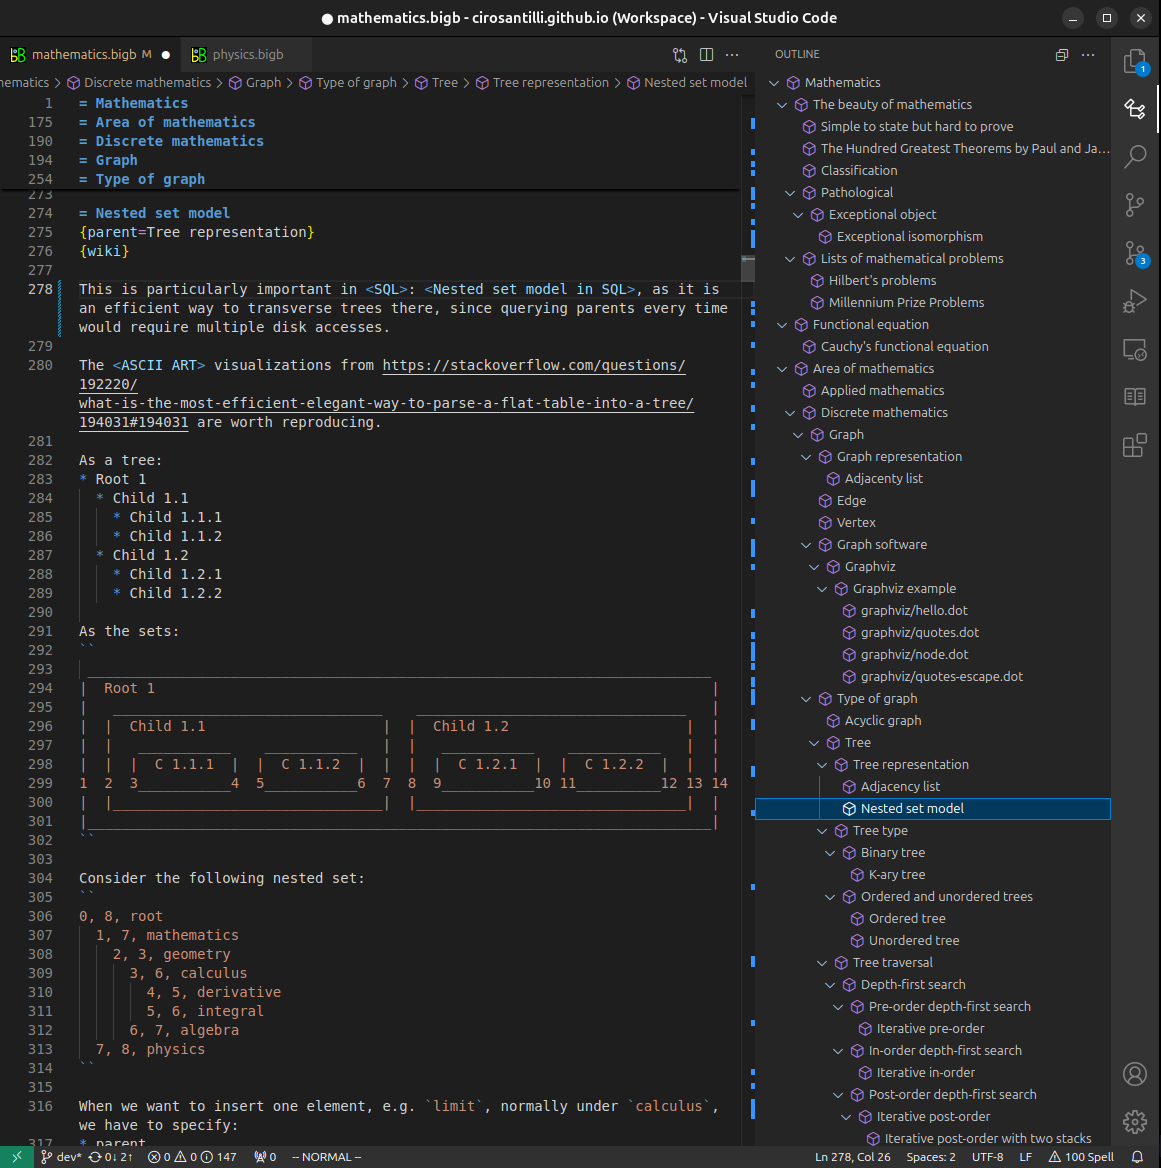
Figure 4. Visual Studio Code extension tree navigation.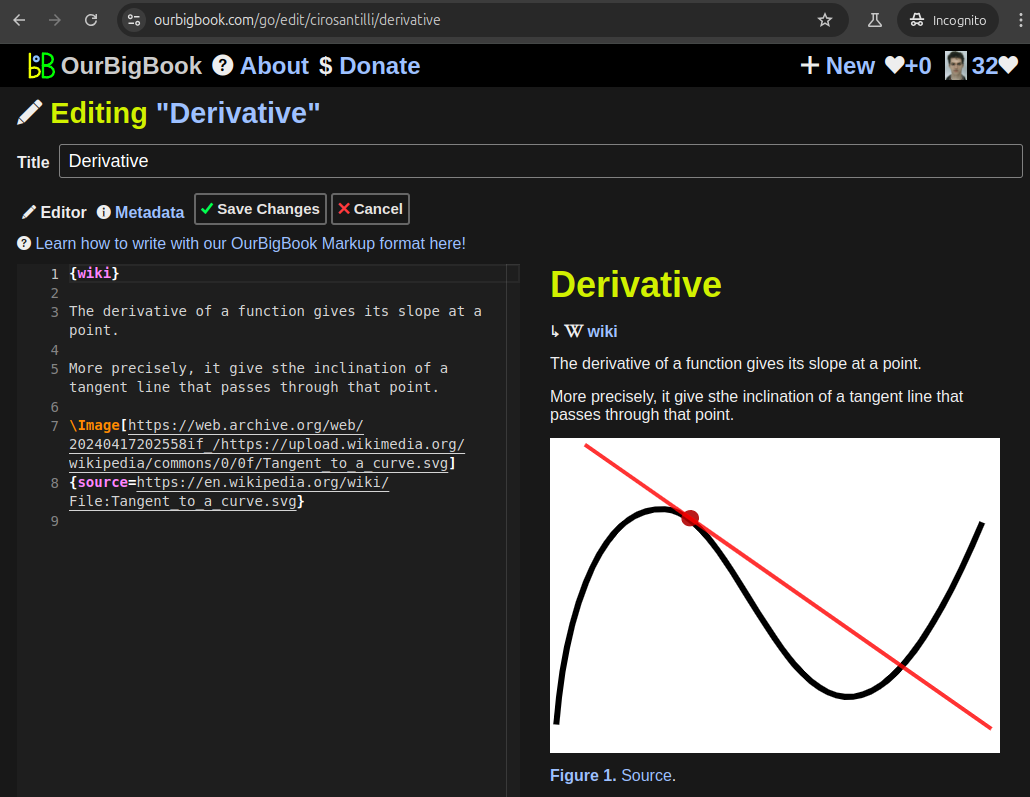
Figure 5. Web editor. You can also edit articles on the Web editor without installing anything locally.Video 3. Edit locally and publish demo. Source. This shows editing OurBigBook Markup and publishing it using the Visual Studio Code extension.Video 4. OurBigBook Visual Studio Code extension editing and navigation demo. Source. 
- Infinitely deep tables of contents:

All our software is open source and hosted at: github.com/ourbigbook/ourbigbook
Further documentation can be found at: docs.ourbigbook.com
Feel free to reach our to us for any help or suggestions: docs.ourbigbook.com/#contact